Constant Contact Email Marketing Starter Kit
Congratulations on joining Constant Contact! This guide has been created to help you get started with Constant Contact from everything to creating your first template, growing and managing your list, reviewing your results and everything in between. We are here to help you market like a pro!
Table of Contents
- Setting Up Your Constant Contact Account
- Manage Your List
- Creating a Template and Content
- Sending and Reporting
- Checklist For Your Next Email
- Customer Support Options
Getting Started: Setting Up Your Constant Contact Account
Set Up your Default Settings
First, set up your account default settings. This will save you time with every campaign you create. Campaign fields such as your organization information, signature, contact settings and footers are automatically populated with your default settings.
Pro tips:
Choose a recognizable “from name.” The number one reason people open an email is because they recognize who it’s from. Be sure to use a name your subscribers will recognize (EX: business name, name of the person sending the email, or a combination of the two... Dave from Constant Contact)Use a branded ‘from email address.’ To look the most professional use an email address with your company domain such as @yourcompanyname.com.
Getting Started: Managing Your List
Build and Manage a Contact List
Another early step in starting your account is to bring all the contacts you currently have in. Here are some instructions for doing so if you haven’t already.
What if I don’t have a list … or a large one? No problem! We have a handful of great list growth tools to help you grow your list.
A few places you should capture contacts are your website, visible within your physical location if applicable, and Facebook if you have a page for your business. Here are instructions on how to set that up with our list growth tools:
Here are some other great ideas for growing your list…
1. Add a signup link to your email itself. With content people want to share, people who see your email may not be on your list. Be sure to allow them to join first hand!
2. When adding a form to your website, capture what information is of interest to them that matches your segmentation goals. This will segment contacts for you saving you time!
3. Collect addresses at events or other shows you attend. Using our ListBuilder App allows you to add these contacts right away without any further data entry.
4. Let people sign up anywhere they see information about your business. If you do other marketing like flyers, ads, etc. adding a text to join code enables those viewers to sign up for your list. That way your other marketing is tied together and you are maximizing your results!
5. Want even more ideas – check out our 15 Creative Ways to Grow Your List article!
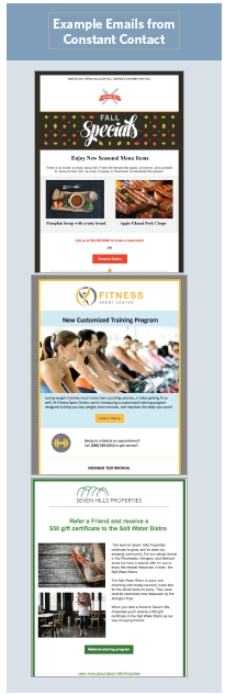
Getting Started: Creating a Template and Content
Make a Great Looking Master Email Template
Customize beautiful, mobile friendly templates to help you save time, look professional, and ensure that your audience can access your message on any device. Follow these tips to learn everything you need to know:
So you have your template and customized the look and feel but no content… Compelling content that provides value to your email recipients will result in higher open and click through rates, with fewer unsubscribes.
Content is easier than you think and believe it or not, you already know what to write. In reality, great content is all about answering the questions of your audience. Here are some other great articles to help you get started managing content:
- Engaging Marketing Content
- Feeling stuck? Check Out our Blogs for Ideas and Resources
- Sign up for our monthly Hints and Tips newsletter to get great advice, support, ideas and best practices sent right to your inbox!
Pro Tip!
Add any Action Blocks intuitively with our drag and drop functionality to any email. This easily creates an actionable message that encourages engagement from your audience.
 Getting Started: Sending and Reporting
Finally ready to send, right?!
Yes – it’s now time to send but when you send is important. In General Monday, Tuesdays and Wednesdays are the best time to send. Mondays tend to generate the best response.
Looking at the time is important as well. 6am, 7am, and 11am local time generally delivers the best response. Here are some other times that we have found to be the best for certain industries.
Set up a Welcome Email
As a small business, you know how important a first impression can be. The first impression a customer has with your business after joining your list is important and needs to come right after they joined your list. Our welcome email is automatically sent after a new prospect joins your list. Best part is you set it and forget it!
Follow these easy steps to ensuring that first experience is a positive one! Read our blog post on creating effective Welcome Emails for even more best practices and tips.
Review Reports and Plan Next Steps
You like seeing people opening your emails and value the increased traffic and new business that comes from using email marketing, but you really don’t have the time to get into the nitty gritty details. Getting familiar with your reports can actually help you save time, because you’ll know which marketing activities are working and which ones may not be worth your time. It will also give you the ability to spot key trends, see who is responding to your messages (and who isn’t), and get inspiration for your future marketing ideas.
Pro Tip!
Your subject line can have a huge impact on the open rates of your emails. Since email delivers a higher conversion rate than social and search combined, setting your email up for success is important to your overall results. Here are some great tips to ensure you have the best subject line!
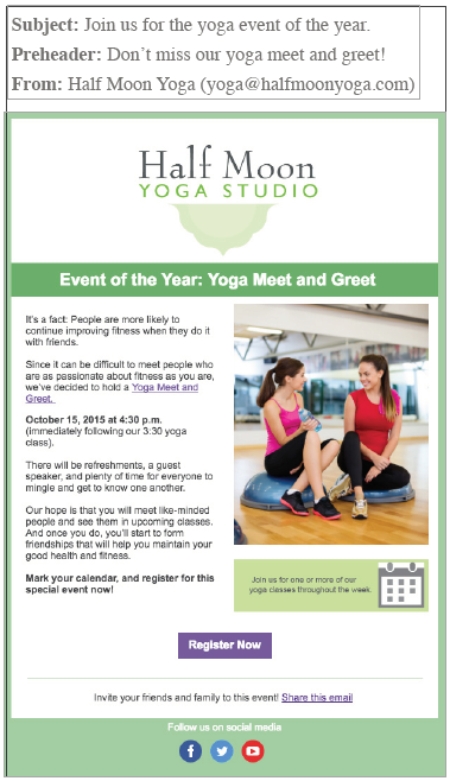 Use This Checklist For Your Next Email
Single-column template: Choose a template that looks great on mobile.
Subject line: Use 50 characters or less, emphasize first 32-40 characters to account for mobile.
From name: Use a recognizable ‘from name’ and email address.
Preheader: Focus on the first 5-8 words to entice people to open.
Logo placement: Place logo at the top of your email.
Fonts: Use fewer than 4 fonts.
Fewer than 3 images: Don’t overdo it. Use 1-3 images.
20 lines of text or less: Keep your copy concise with 20 lines of text or less.
Action above the scroll: Include a primary call to action for people to take.
No more than 3-5 links: Position your most important links at the top of your email.
Use social media buttons: Make it easy to connect with you on social media.
Still need help -- give us a call 905-734-8273.
Don't have Constant Contact yet, but like what you see?
Get a FREE 60-Day Trial NOW!
Related Articles
Syncing Office 365 Email in Zoho CRM
Connecting Office 365 Email Accounts to Zoho CRM In the CRM click the gear to go to Settings (the gear could be located on the left hand menu bar at the bottom, or it could be in the top right corner. In both cases either a silhouette, initials or ...Contact Import Template Example
To add your initial list or import contacts, leads and accounts it is a good idea to start with the template provided by Zoho CRM To get the example template follow the steps below: 1. Go to the module you wish to import contacts to. 2. We're using ...Setting Up Your Bravenet Email
If we have registered your domain for you - chances are good your email is hosted through Bravenet. (if you're not sure check with us). Webmail You can access your e-mail through our webmail system at https://bravenetmail.com. When prompted, just ...Where do I login to the CSP® Marketing Portal
To login or request access to the CSP® Marketing Portal go to www.prowlcommunications.com/site/csp-marketing. Here you can request access if you haven't already or click the LOGIN button if you already have access.How to Send A Link to Request a Google Review
This question has been asked by our clients many times. Here is how to send a link to request a Google Review. 1. Go to your Google My Business page on the web (just type the name of your business into the browser, it should show up). 2. Scroll ...